Showing posts with label polymer clay. Show all posts

Sunday, July 25, 2010

Tutorial - Step by Step - Polymer Clay for Scrapbooking

There were 2 reasons why, finally, I did something that I want to do since I start to learn scrapbook.  I loved to make miniature from polymer clay first. Then when I start to do scrapbook, I have a dream that one day I can combining those my two hobbies.

First reason, one week after my polymer clay's teacher passed away, I just wanted to do something with polymer clay, that I haven't do for about one year. That was just for remember her.

Second, I need something to be prepared for scrapbooking swap, that later I decide to make this project as a swap project.

There were some of my scrapbooking friends asked how to make this polymer clay for tags. And I promised them to make a step-by step process for this project and post it to this blog.

Actually this project, is easier than the miniature project that I used to do and I think everyone can make this project easily.

Let's start.....


Several different brands of this clay are available.


The easiest way to condition your polymer clay is with pasta machine. You can make a sheet of polymer clay with this machine.


After you make a "sheet" from polymer clay, then you can press the clay with wood stamp or other stamp.
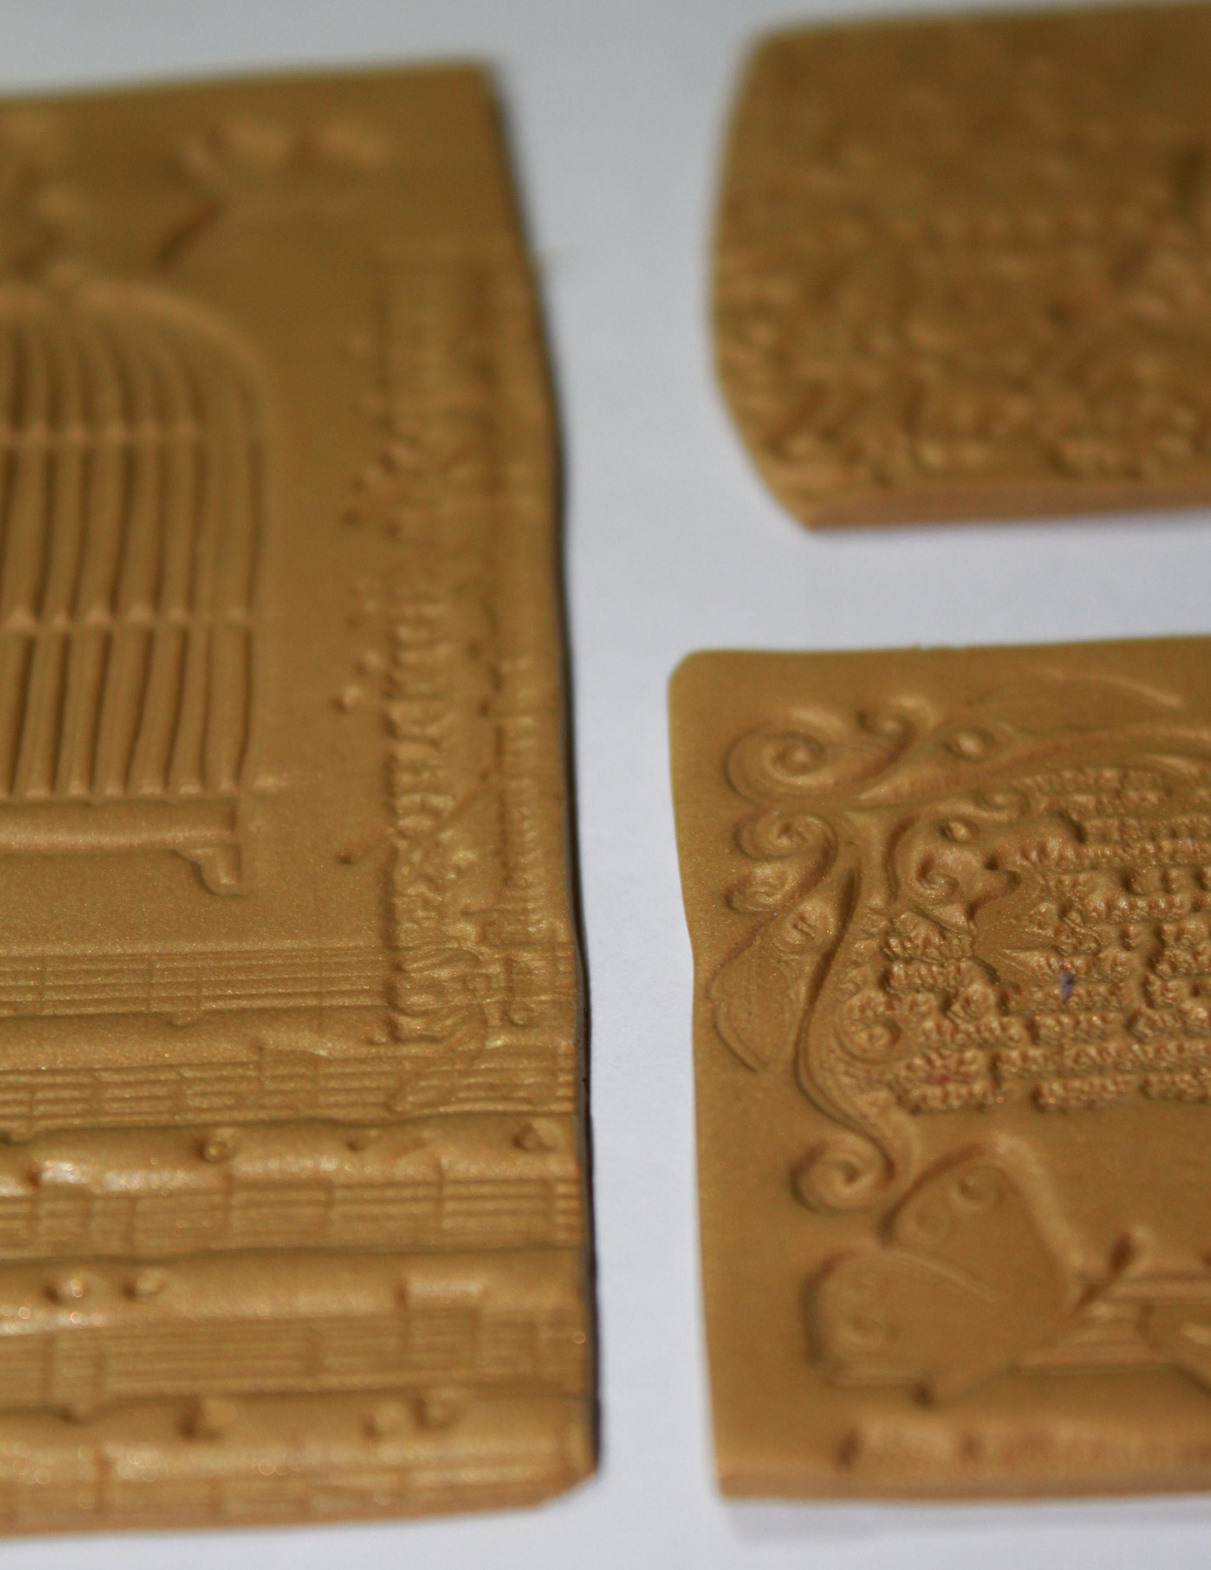

You can put your clay in the oven and bake them at the correct temperature and for correct lenght of time. For this project I baked the clay for about 10 minutes. The oven that you have used for polymer clay cannot use for baking food anymore. Please be aware that the clay may contain a not safe ingredient for human.


After bake, let the clay cool and then you do the coloring of your project with alcohol ink. I use Adirondack alcohol ink for this project.


This is the polymer clay after coloring

Then you can start to make tags from free-acid paper. Again you will need a collage stamps and Ink Pad to stamp the paper.


Stamp the paper

Put some ink in the edge of the paper to give a vintage touch.

Then adhere the polymer clay to the paper and voila your scrapbooking tags from polymer clay.


Saturday, June 19, 2010

Polymer Clay for Scrapbooking

Polymer Clay was my first hobby before Scrapbook and Painting. However, I've never been tried to combine between polymer clay and scrapbooking. This tags arethe first time I try to combine it.  Still need a lot of improvement, but at least now I am starting to make polymer clay again. :-0


Saturday, April 18, 2009

Just Bread's Bakery

Still by using the DIY's media, the first genuiness theme from this DIY was the "Grocery's Store", but later, I turned it into "Just Bread Bakery". I enhanced some breads that I made from different technique from the previous project. The effects such as baked bread or topping of the doughnuts, I made by put in the top layers with liquid polymer clay that had been coloured by oil paint. To take care of this liquid polymer clay not destroyed when compile in a crate, this breads are baked and then put it on a crate by using glue.
This process took a longer time than the usual one. For better result, I think this is worth.


Delicious Pastry House (2)

The easiest media to make a polymer clay miniatur project is using "Do It YourSelf" (DIY) kits. With this kits we just need to follow the existing instruction and later, we can enhance with other items that we wish by using other materials such as polymer clay.
Hereunder I try to share a process of making DIY's step by step.
I really like a bakery atmosphere, for that reason I looked for DIY that can I develop become a bakery or cake shop.
This project intentionally I made as a gift to my mother-in-law. Since I learned Polymer clay, she ever asked me to make her a project.


Process of DIY making stops to this end. This is what I conceive as a media. Now we just need to enhance some items such as the chef, bread or cookies. You can see the result hereunder .


Sunday, April 5, 2009

Do it Yourself - Polymer Clay

If we pass in bridge between PIM1 and PIM 2, we will meet a store named "Tokubetsu". This Store provides a lot of kits to make miniature of all kind of store, cafe and others.
Before knew Polymer Clay, I made this project only in accordance with materials that provided by the package , but after knowing polymer clay making, I always modify it with additional polymer clay's dolls, breads and other things that can be made with polymer clay.
The result looked to be more lives compared to the original package.


Sunday, March 29, 2009

RINGS

Ring....Ring....I like Rings...

Big....Fancy....Girly.....

I made it by myself....

Polymer Clay Rings......


Black Beauty-Polymer Clay Jewelry

I'm still learning to make jewelry from Polymer Clay. This is my another creation. This creation consists of a bracelet and a ring. Begin from my desire to renovate one of ring that given by friend of mine as gift, that its stone lose. With existing frame, I tried to make a stone to replace the missing one.
With the same theme , I also make some beads and I put at a bangle that given by one of my friend as a birthday present.
This bracelet and the ring will complete each other as its have the same theme : Black Beauty.........


Sunday, March 22, 2009

Picnic Under a Tree


This is my weekend project.Actually this project had been start since last year July 2008 when I took an advance course with my polymer clay instructur,NANA. Since then I haven't got any idea how this project will be done. First, I made a tree and this is took quite a long time, since we have to prepare the wood effect of clay that wasn't easy. Snce then I stopped this project. But today, just sudden, I found how this project will done and I start to made it since 10 o"clock in morning and done on 3.30 PM. I am quite happy with the result. Hope you also enjoy it.

The Cakery

Polymer Clay Making is one of my hobbies, I had been start this hobby since 2006, at that time I took a polyer clay course at Blueberry Art Center, Kemang. This Cakery project was an advance project during my advance class. This project is one of my favourite.