There were 2 reasons why, finally, I did something that I want to do since I start to learn scrapbook. I loved to make miniature from polymer clay first. Then when I start to do scrapbook, I have a dream that one day I can combining those my two hobbies.
First reason, one week after my polymer clay's teacher passed away, I just wanted to do something with polymer clay, that I haven't do for about one year. That was just for remember her.
Second, I need something to be prepared for scrapbooking swap, that later I decide to make this project as a swap project.
There were some of my scrapbooking friends asked how to make this polymer clay for tags. And I promised them to make a step-by step process for this project and post it to this blog.
Actually this project, is easier than the miniature project that I used to do and I think everyone can make this project easily.
Let's start.....

Several different brands of this clay are available.

The easiest way to condition your polymer clay is with pasta machine. You can make a sheet of polymer clay with this machine.

After you make a "sheet" from polymer clay, then you can press the clay with wood stamp or other stamp.
You can put your clay in the oven and bake them at the correct temperature and for correct lenght of time. For this project I baked the clay for about 10 minutes. The oven that you have used for polymer clay cannot use for baking food anymore. Please be aware that the clay may contain a not safe ingredient for human.

After bake, let the clay cool and then you do the coloring of your project with alcohol ink. I use Adirondack alcohol ink for this project.

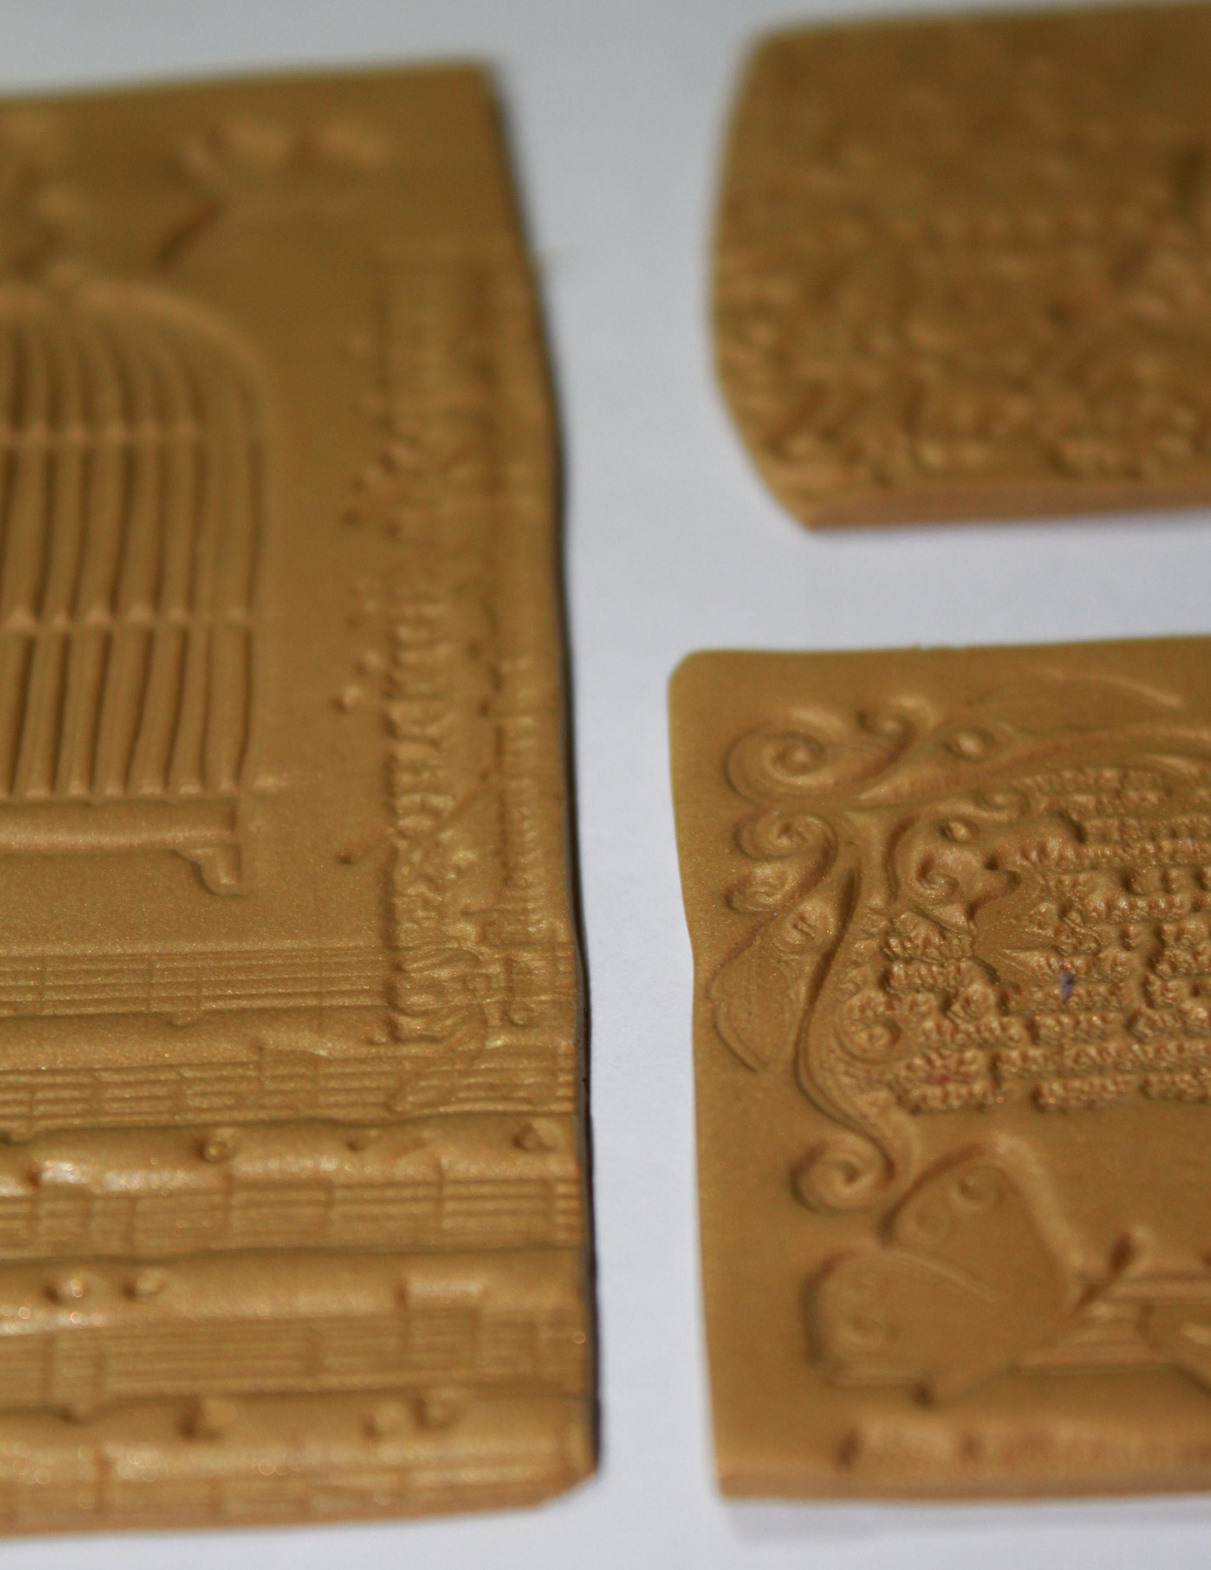
This is the polymer clay after coloring

Then you can start to make tags from free-acid paper. Again you will need a collage stamps and Ink Pad to stamp the paper.

Stamp the paper

Put some ink in the edge of the paper to give a vintage touch.

Then adhere the polymer clay to the paper and voila your scrapbooking tags from polymer clay.
4 comments:
Amei a dica..vou pratica-la com as amigas
Postei sua dica em meu blog:
http://comudicasscrap.blogspot.com/2011/07/tutorial-passo-passo-polymer-clay-para.html
Oi, feliz, se quiser a minha dica. (tried to translate it to your language).
dear anita... suka banget sama polymer clay kamu.. aku suka bikin jewelry.. sering liat di web amrik, cuman susah dan agak lama utk pesan.. kira2 kamu terima pesenan ga? utk pendant/focal piece gitu?
aku d jkt juga :)
please email me at :
sugarbabes74@yahoo.com
Post a Comment